Google Slides presentations have become super common in classrooms, boardrooms, and casual presentations alike. They’re versatile, easy to use, and offer endless possibilities for creativity.
One fun way to add a personal touch to your Google Slides is by incorporating Bitmojis. These customizable cartoon avatars are not just for social media; they can be a playful and engaging addition to your presentations.
By adding Bitmojis, you can inject personality, make your content more relatable, and even create interactive elements. Whether you’re a teacher wanting to make your classroom more inviting or a professional looking to add a touch of fun to your business presentation, Bitmojis can be a game-changer.
Let’s dive into how you can effortlessly incorporate these charming characters into your Google Slides.
What You’ll Need?
Before we dive in, make sure you have the following:
- A Google account
- A Bitmoji account (linked to Snapchat or created separately)
- The Bitmoji Chrome extension installed
- A Google Slides presentation
<SlidesAICTA1 />
How To Insert Bitmoji in Your Google Slides?
Step 1: Make Your Bitmoji Avatar
Before you can add Bitmojis to your Google Slides, you’ll need to create a digital version of yourself called a Bitmoji. To do this, use the Snapchat app on your phone.
Step 2: Get the Bitmoji Extension
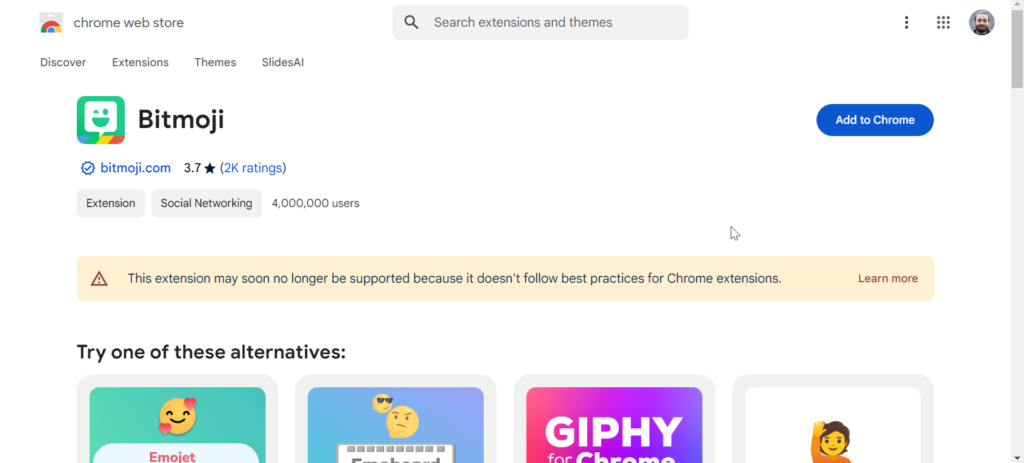
To easily add Bitmojis to your slides, you’ll need a special tool called a Bitmoji Chrome extension. Here’s how to get it:
- Open Google Chrome on your computer.
- Go to the Chrome Web Store.
- Search for “Bitmoji” and press Enter.
- Find the Bitmoji extension and click “Add to Chrome”.
- Confirm your choice when asked.You’ll see a Bitmoji icon in the top right corner of your Chrome window.
Step 3: Add Bitmojis to Your Slides
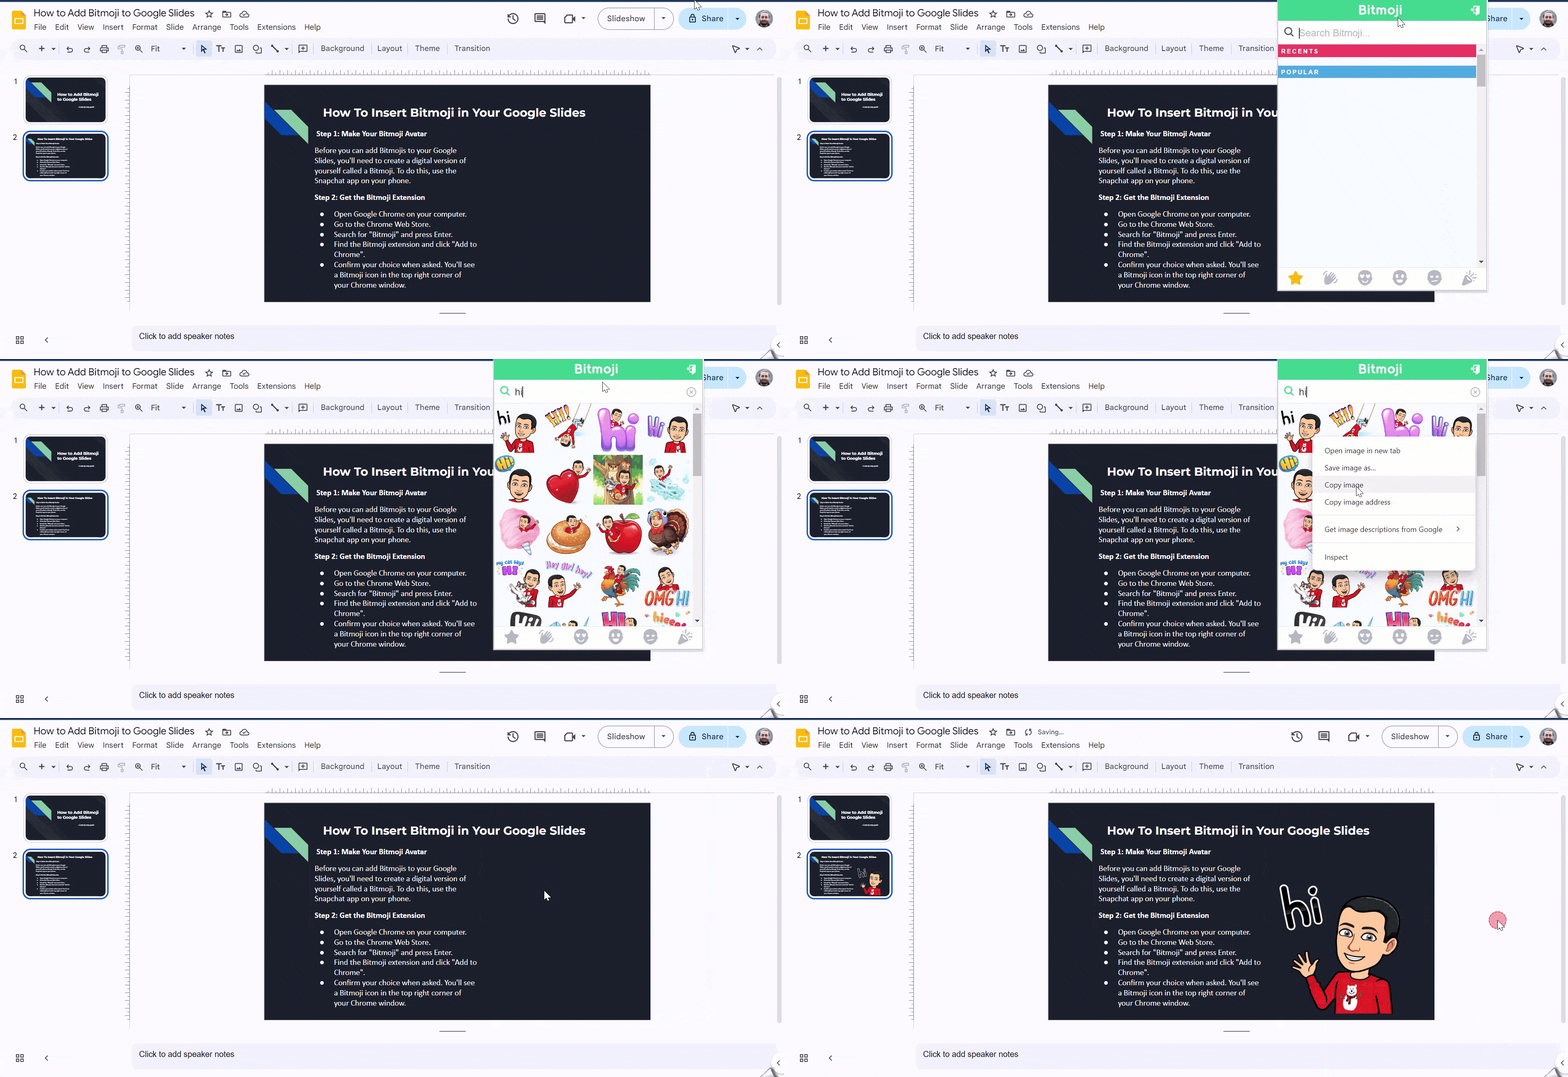
Now you’re ready to add Bitmojis to your Google Slides:
- Open the Google Slides presentation where you want to add a Bitmoji.
- Click on the slide where you want to put the Bitmoji.
- Click the Bitmoji icon in the top right corner of your Chrome window.
- Search for a Bitmoji you like or look through the available options.
- Click on the Bitmoji you want to add to your slide.You can change the size, position, and look of the Bitmoji on your slide as needed.
<SlidesAICTA2 />
How to Make a Bitmoji Classroom on Google Slides?
Step 1: Set the Stage
Start by creating a new, blank Google Slides presentation.
Step 2: Build Your Classroom Base
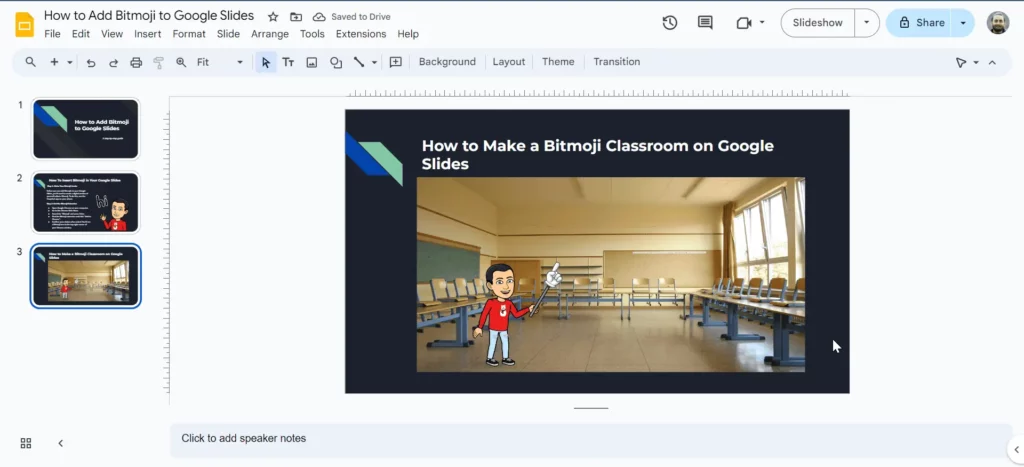
Add a classroom background by going to Insert > Image > Search the web and searching for ‘classroom background’. Choose an image you like and adjust its size to fit the entire slide.

Step 3: Add Your Teacher Avatar
Use the Bitmoji extension to choose a pose that suits your classroom setting. Drag and drop the Bitmoji image onto your slide.
Step 4: Create a Notice Board
Insert a large image of a whiteboard or corkboard by searching for it on the web. Position it where you want your announcements or reminders to be.
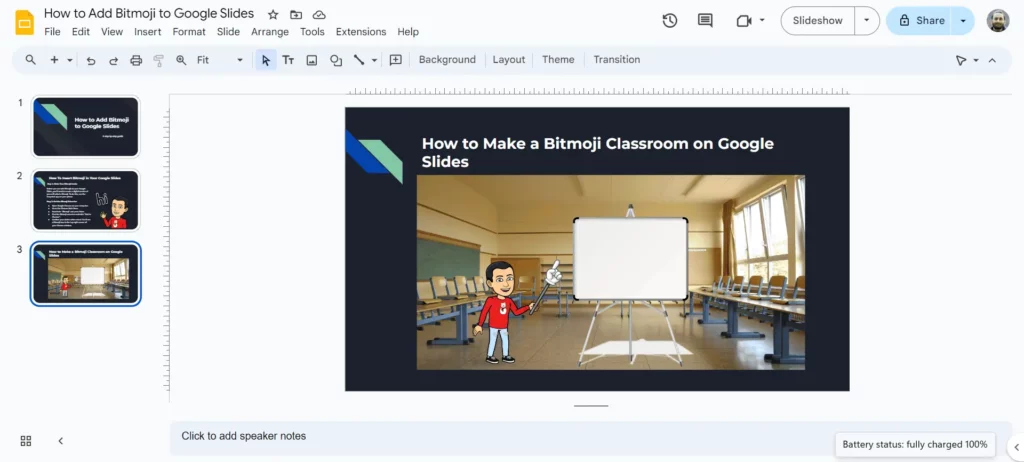
Step 5: Add a Text Area
Create a text box by going to Insert > Text box. Customize its size and position. To give it a framed look, go to Format > Borders and lines > Border weight and choose a thickness.
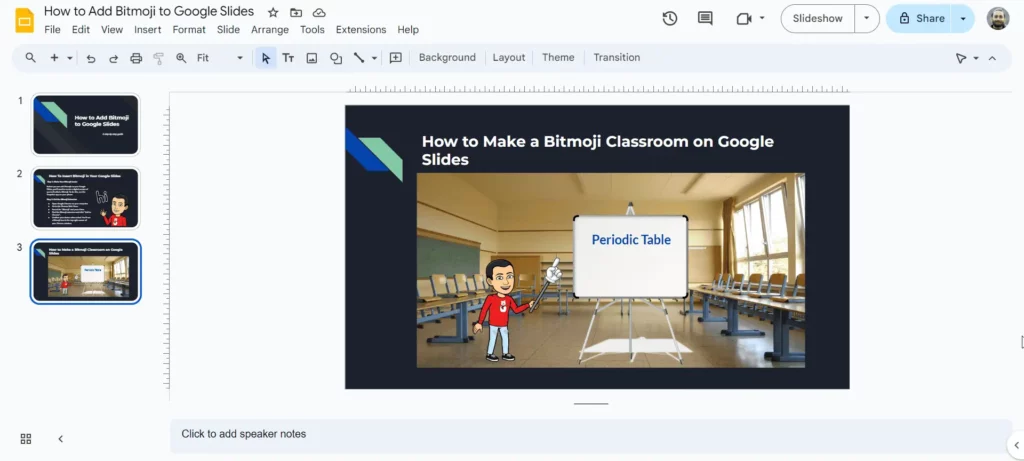
Step 6: Bring Your Classroom to Life
Add more elements like bookshelves, plants, or decorations to make your classroom feel livelier. You can search for these images on the web as well.
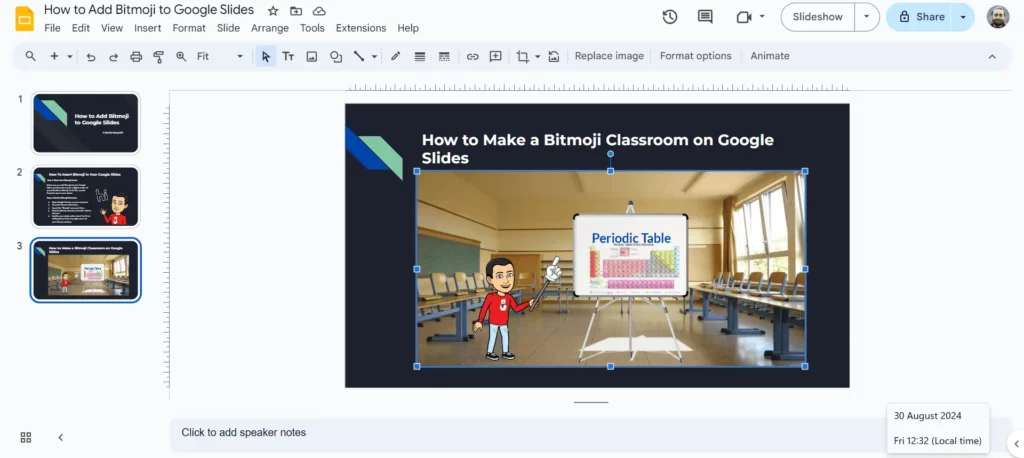
Step 7: Personalize Your Text Box
Make your text box more engaging by adding another Bitmoji inside it. You can also use Word Art (Insert > Word Art) to add stylish text.
Tips to Customize Bitmoji
- Change Your Bitmoji’s Appearance: Want a new outfit or hairstyle? Easily change your Bitmoji’s look within the Bitmoji app or Chrome extension.
- Add Backgrounds and Props: Enhance your Bitmoji’s scene by adding images, shapes, or other elements to your slide.
- Animate Your Bitmoji: While Google Slides doesn’t offer built-in animation for images, you can create the illusion of movement by adding multiple Bitmoji frames with slight variations.
Troubleshooting
1. Bitmoji Chrome Extension Not Working: Try reinstalling the extension or checking if Chrome is up to date.
2. Bitmoji Not Appearing: Ensure you’re logged into your Bitmoji account and that the extension is enabled.
<SlidesAICTA3 />
Closing Thoughts
Incorporating Bitmojis into your Google Slides can add a fun and personalized touch to your presentations. Whether you’re enhancing a classroom setting or livening up a professional deck, these playful avatars can make your slides more engaging and relatable. By following the simple steps to create and insert Bitmojis, you can effortlessly bring more personality to your content. Remember, a little creativity goes a long way, and Bitmojis are a great tool for making your presentations stand out. Happy slide-making!
Frequently Asked Questions
How can I use Bitmojis to enhance my presentations?
Bitmojis can add a fun and interactive touch to your presentations. Use them to highlight key points, introduce speakers, or link to additional resources.
Can I create custom Bitmojis for presentations?
While Bitmoji offers some customization, creating highly specific avatars might be limited. For full control, consider using dedicated graphic design tools.
Can I make my Bitmojis clickable?
Unfortunately, you can’t directly hyperlink a Bitmoji. However, you can add a hyperlink to the image container where the Bitmoji is placed.
How do I animate my Bitmojis in Google Slides?
Google Slides has animation features. Select your Bitmoji, go to the “Animations” tab, and choose your desired effect to bring your character to life.
Can I collaborate on Bitmoji-filled presentations?
Absolutely! Anyone with editing access to your Google Slides presentation can view and modify the Bitmojis you’ve added.


