
Creating a word cloud in PowerPoint is best achieved using a free add-in, as there is no built-in, one-click tool for this feature. The most recommended and widely used add-in is Pro Word Cloud, which allows you to quickly turn text into a visually engaging word cloud directly within your slides.
What is a Word Cloud?
A word cloud, also known as a tag cloud, is a visually engaging way to represent text data. Imagine a cloud where the most important words appear larger and bolder, while less frequent ones shrink in size. That’s the core idea!
By feeding text into a word cloud generator, it analyzes the frequency of each word. The generator then translates this information into a graphic where word size directly correlates to its prevalence in the text. This creates a quick and clear snapshot of the key themes and ideas within that data.

How Do You Create a Word Cloud in PowerPoint?
Method 1: Using Pro Word Cloud Add-In
Step 1: Accessing the Pro Word Cloud Add-In
- Open your PowerPoint presentation and navigate to the Insert tab.
- Look for Add-Ins in the far right corner of the ribbon. If it’s not there, don’t worry! Just right-click on the ribbon and select “Customize the Ribbon”.
- In the customization window, choose “All Commands” from the “Choose commands from:” dropdown menu. Find and add “Add-Ins” to your preferred tab.
- Once you have access to Add-Ins, click Get Add-Ins at the bottom of the dropdown menu. This opens the Microsoft Store within PowerPoint.
- Search for “Pro Word Cloud” and click Add to install the add-in.

Also Read: Best PowerPoint Add-ins to Supercharge Your Presentations
Step 2: Preparing Your Text Source
Now that Pro Word Cloud is ready, it’s time to choose your text:
- Type It Up: Click on a blank area of your slide and start typing the text you want to visualize.
- Paste Existing Text: Have your text prepared elsewhere? Simply copy and paste it directly into the add-in window.

Step 3: Generate Your Personalized Word Cloud
Pro Word Cloud offers a playground for customization! Let’s explore some options:
- Fonts and Colors: Click the “Font” dropdown menu to choose a font style that matches your presentation’s theme. Unleash your creativity with the color palette icon next to the font selection to adjust the color scheme.
- Shape It Up: Experiment with different layouts! The “Layout” dropdown menu lets you pick from various shapes for your word cloud, such as rectangles, circles, or even hearts. Choose the one that best complements your content.
Once you’re happy with the settings, click the Create Word Cloud button. Pro Word Cloud will take your text and chosen options to generate a unique word cloud.

Step 4: Finalizing and Adding Your Word Cloud
- Resize and Reposition: Click and drag the corners of the image to adjust its size. Drag it to the perfect location on your slide for maximum impact.
- Further Customization (Optional): PowerPoint’s built-in formatting options offer even more customization possibilities. You can add a background image behind the word cloud or adjust the text orientation within it.
Method 2: Using a third-party tool
If you’re unable to install PowerPoint add-ins or want more creative control over how your word cloud looks, using an online generator is a flexible and easy alternative. These tools let you customize shapes, colors, fonts, and layouts before downloading your word cloud as an image you can insert into your slides.
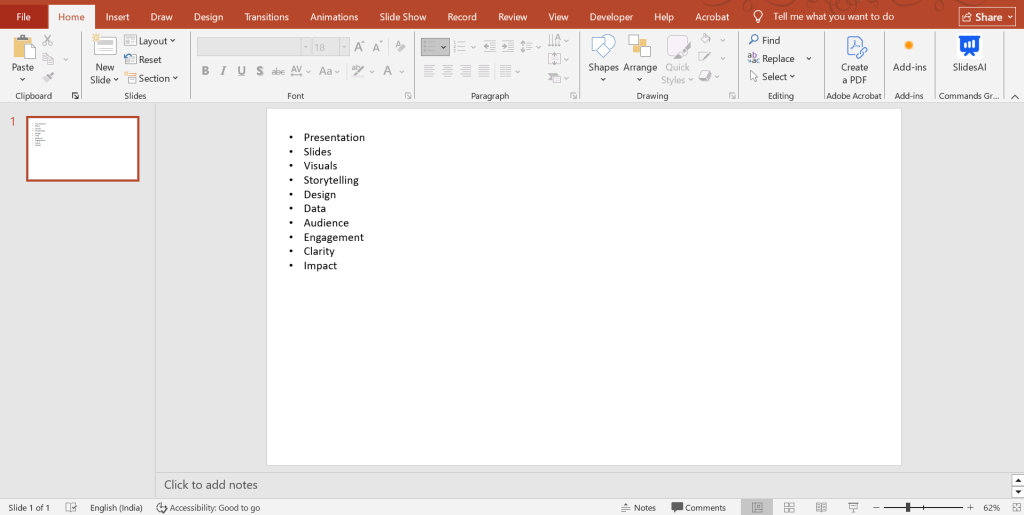
Step 1: Gather Your Text
- Before you begin, identify and collect all the words you want to visualize in the word cloud. This could be content from a document, notes, survey responses, or any text you want to highlight.
- Once you have your text ready, select it all and copy it to your clipboard so you can easily paste it in the next step.
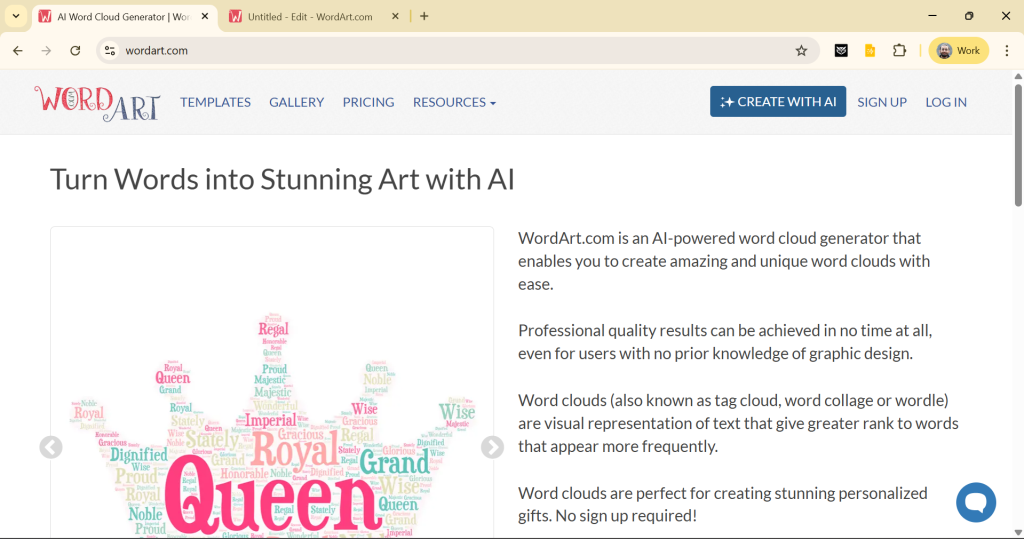
Step 2: Open an Online Word Cloud Generator
- Next, open your web browser and navigate to a free online word cloud generator. Popular options include WordClouds.com or WordArt.com, both of which allow you to create word clouds without installing software.
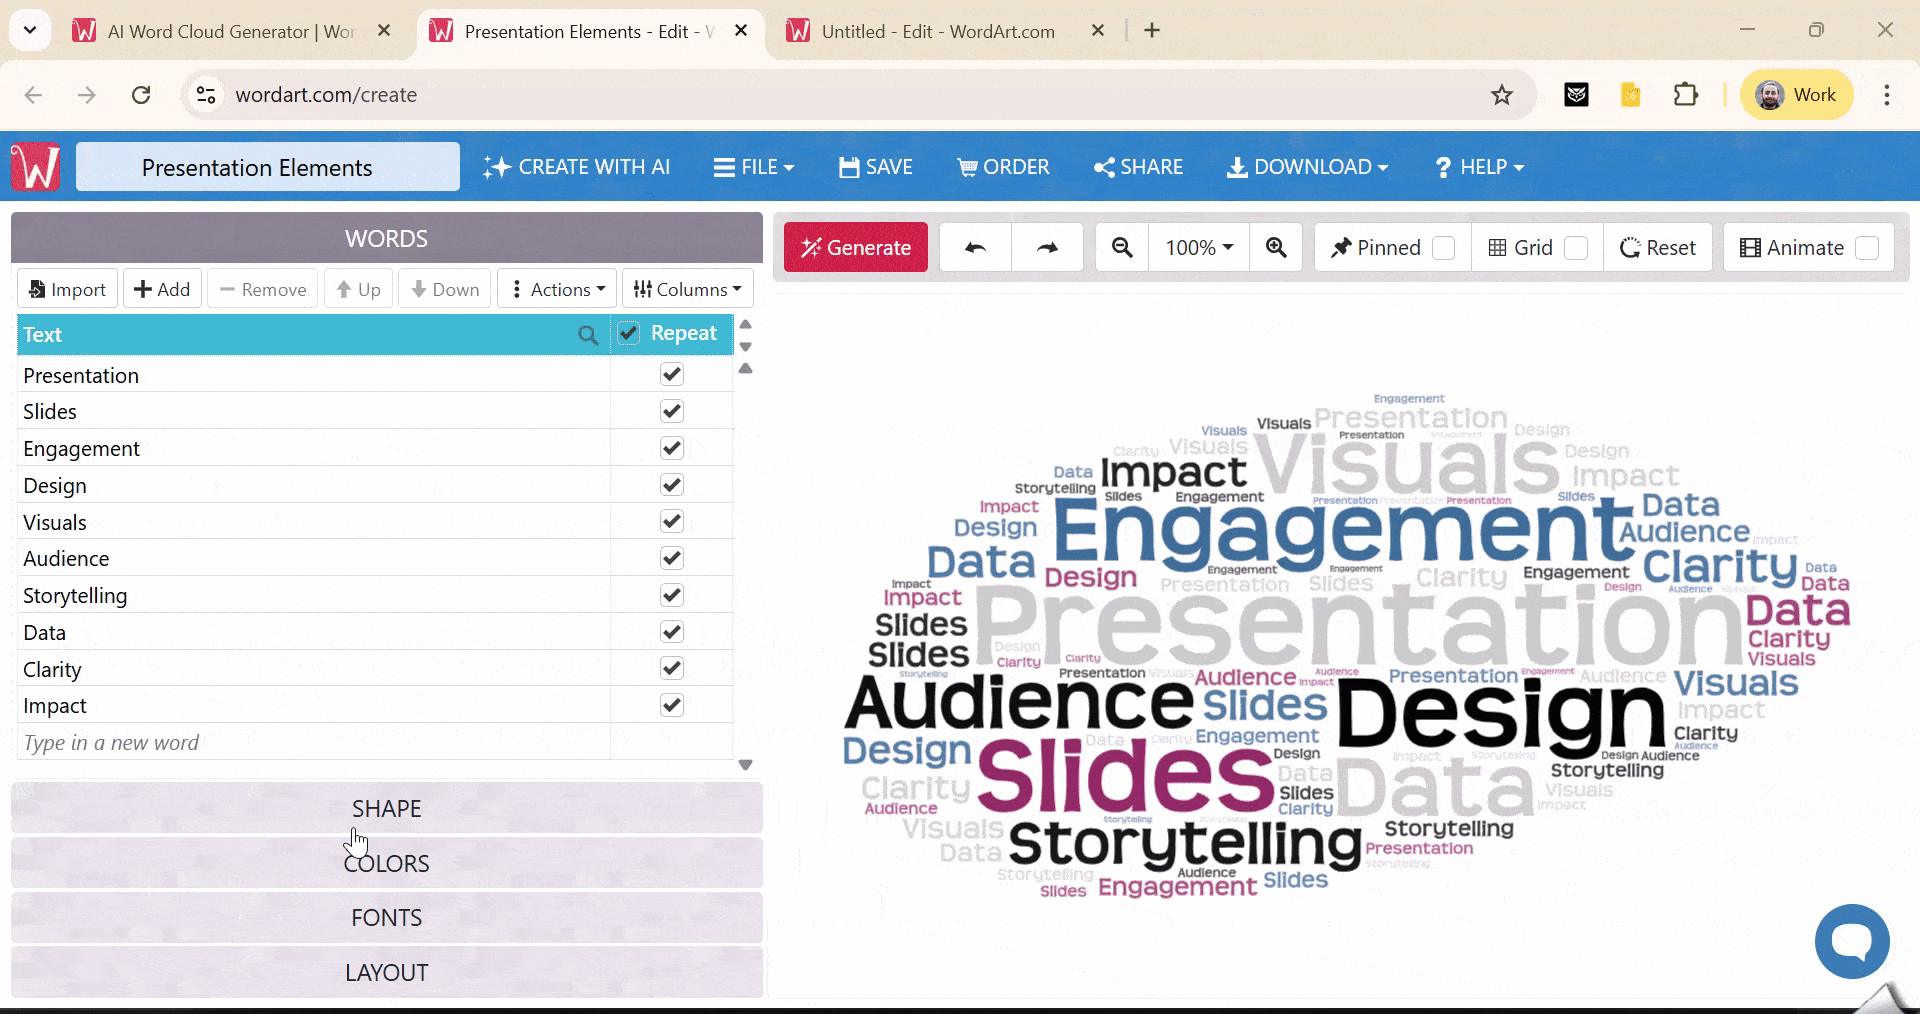
Step 3: Paste Your Text into the Generator
- Once you’re on the word cloud generator website, find the text input box; this is where you’ll paste the text you copied earlier.
- Simply click into the text box and paste your content.
- Make sure the text looks right and includes all the words you want to display.

Step 4: Customize the Word Cloud Design
- After your text is pasted, use the generator’s customization tools to tweak how your word cloud will appear:
- Shape: Choose a shape that fits your presentation theme (circle, rectangle, custom shapes).
- Colors: Pick colors that match your slide design.
- Fonts: Select a font style that enhances readability and visual appeal.
- Word Density: Adjust how tightly words are packed and how frequently they appear based on their frequency.
These customization options allow you to craft a word cloud that not only reflects your content but also looks polished and professional.
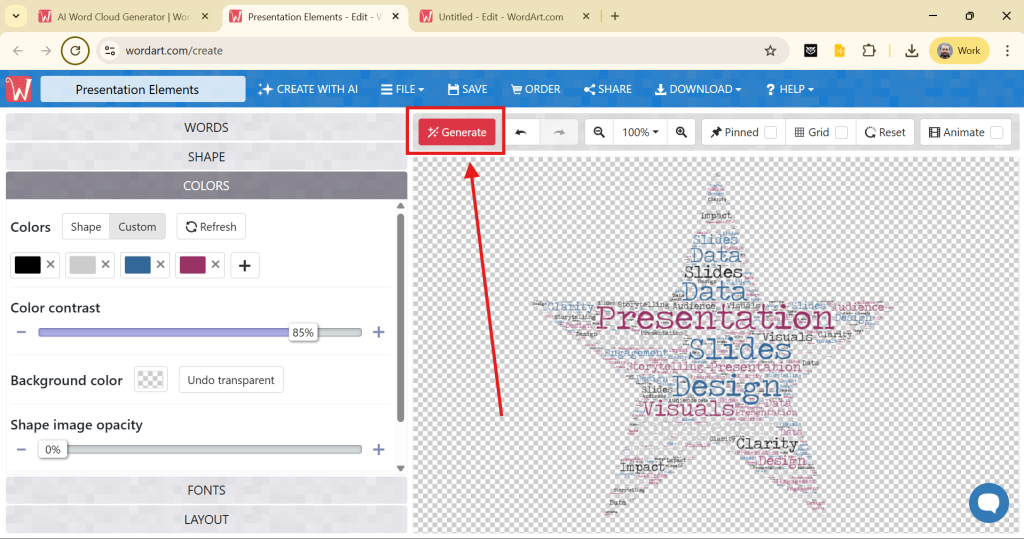
Step 5: Generate the Word Cloud
- Once you’ve finished customizing your settings, click the generate or create button to build your word cloud.
- The tool will process your text and display a visual representation where more frequently occurring words appear larger and more prominent.
Step 6: Download the Word Cloud Image
- When your word cloud looks the way you want it, download the image to your computer. Most generators let you save the file as a PNG or JPEG, which are ideal formats for PowerPoint.
- Saving the file locally ensures you can easily insert it into your presentation slide.
Step 7: Insert the Image into PowerPoint
- Now open your PowerPoint presentation and go to the slide where you want to add the word cloud.
- Navigate to the Insert tab,
- Select Pictures > This Device,
- Then locate and choose the word cloud image file you downloaded.
- Once inserted, you can resize and reposition the image as needed to fit your slide layout.
This method gives you full control over your word cloud’s appearance without relying on add-ins, making it a great choice when you want a customized visual element that enhances your presentation’s message.
Method 3: Create manually using Morph
Step 1: Add Your Main Theme Word
- Open a new PowerPoint slide and insert a text box
- Type your main or most important word
- Place it near the center of the slide as the focal point

Step 2: Format the Main Word
- Select the text box
- Change the font style, color, and size to make the word stand out
- Adjust formatting using the Home tab
Step 3: Add Additional Words
- Copy the original text box
- Paste it on the slide and replace the text with another word
- Reduce the font size to represent lower frequency or importance
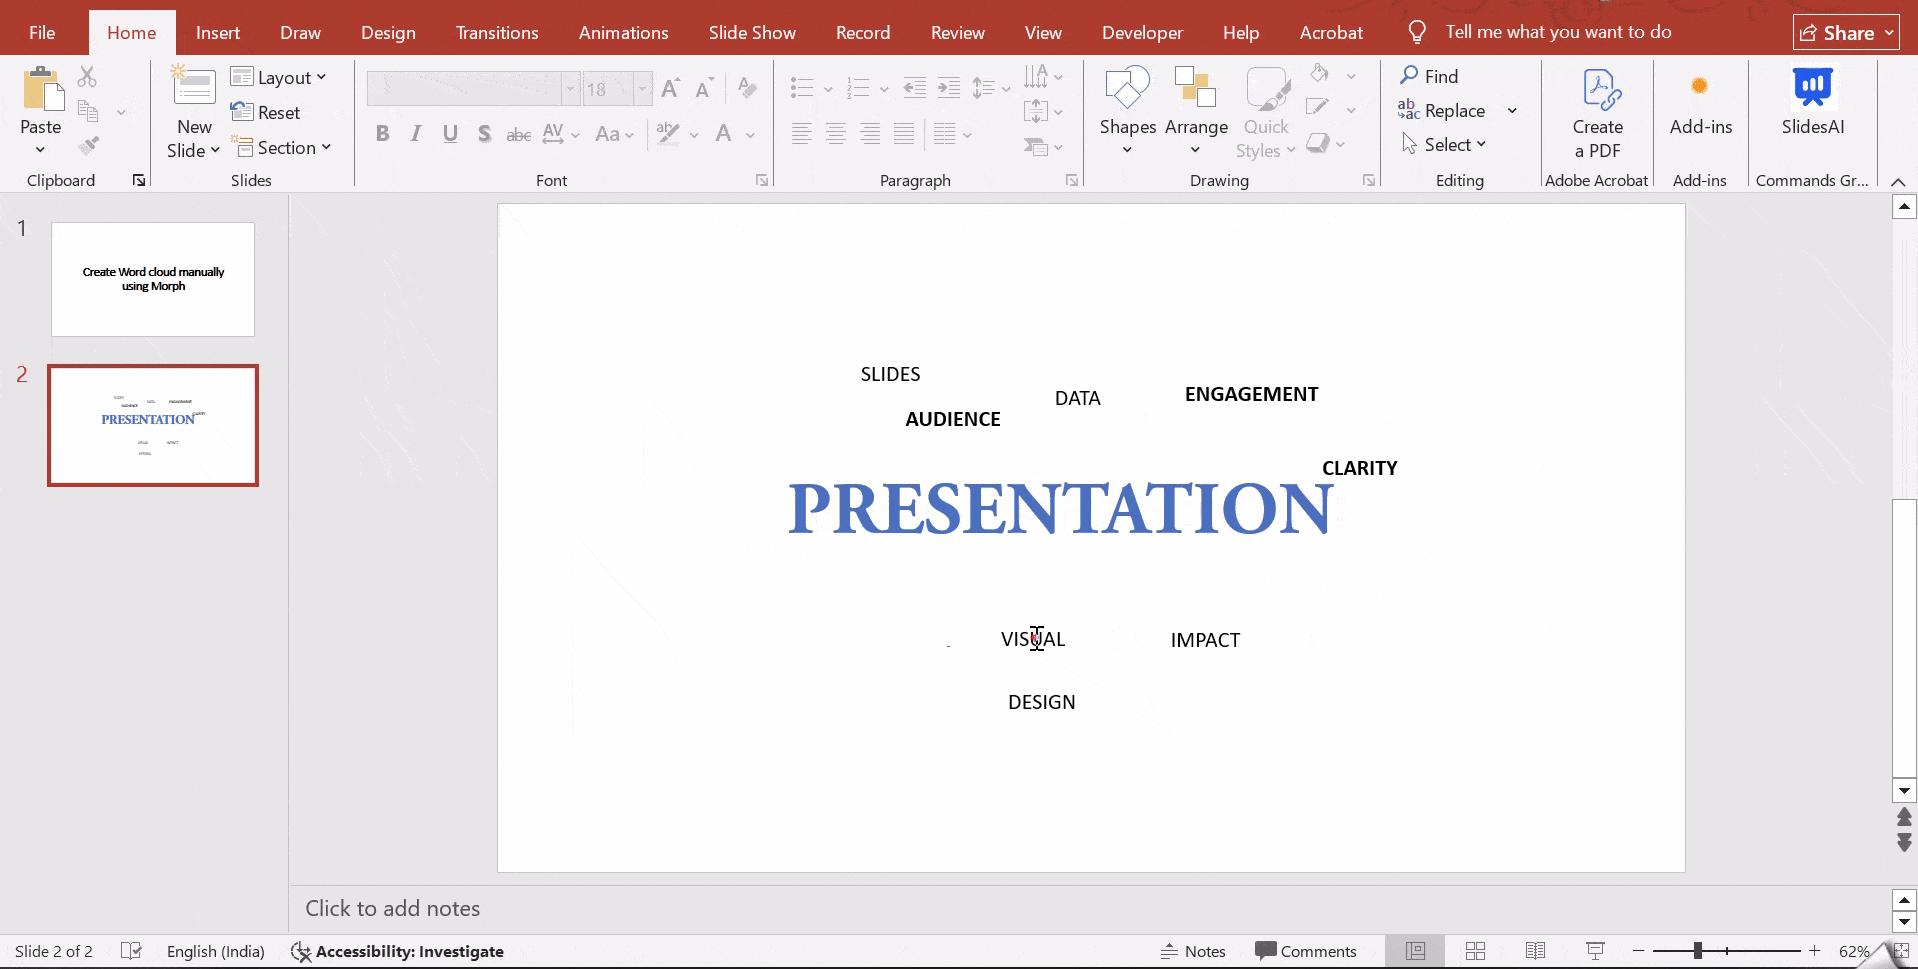
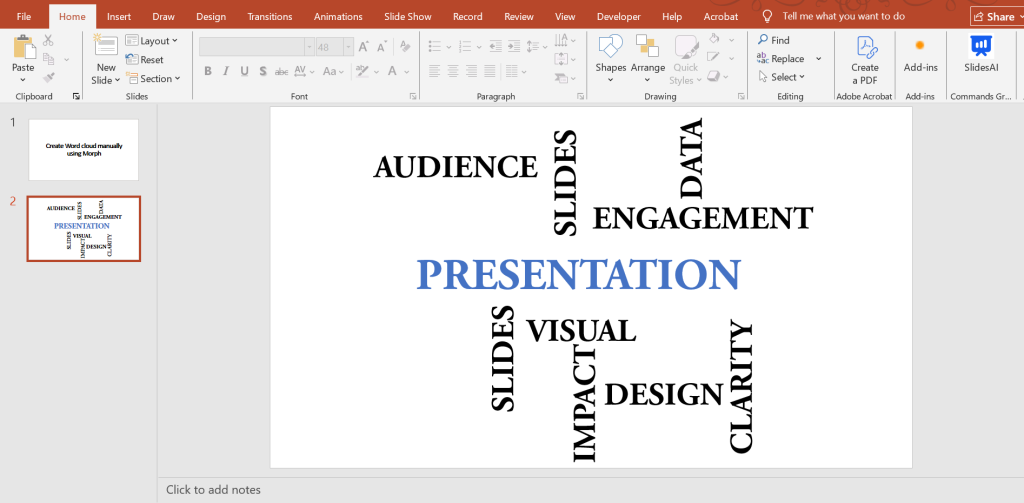
Step 4: Build the Word Cloud Layout
- Repeat the copy and paste process for each new word
- Resize words based on importance
- Manually arrange the text boxes to form a cloud-like shape
What are the Benefits of a Word Cloud in PowerPoint Presentations?
Word clouds can be a helpful addition to your presentations, making them more interesting and easier to understand. Here are some ways they can improve your message and connect with your audience:
1. From Text-Heavy to Clear: Do your slides sometimes feel crammed with text? Word clouds can take complex information or topics and break them down into smaller, easier-to-understand pieces. Viewers can quickly see the main points because keywords that appear more often are highlighted visually.
2. Helping Information Stick: Let’s be honest, slides with a lot of text can be boring. Word clouds offer a fresh approach, grabbing attention and making your key takeaways more memorable. Information presented in a visually appealing way is simply easier to remember.
3. Guiding the Focus: The size of words in a word cloud isn’t random. Bigger words show what’s most important in your presentation. This gentle nudge helps your audience focus on the key points and ensures they don’t miss important details.
4. Encouraging Discussion: Word clouds can be more than just visuals; they can be conversation starters. By showing prominent themes, they can spark curiosity and encourage discussion around the main ideas you’ve presented.
5. Building Trust: Imagine using word clouds to show feedback from your audience, survey results, or analysis findings. This lets you visually represent what people think about a topic, which can add credibility and weight to your presentation.
6. Easy to Use: The good news is that creating and customizing word clouds is simple with modern presentation software like PowerPoint. Easy-to-use add-ins let you change the look of your word cloud, including things like font style, color, layout, and even shape. You can even be creative and use heart-shaped, star-shaped, or custom-shaped word clouds to match your presentation’s theme.
Tips for Better Word Clouds
Creating a word cloud is easy, but making it effective requires a few thoughtful adjustments. Here are some simple tips to help you get the most out of your word cloud:
1. Focus on Word Frequency
Word cloud generators automatically scale words based on how often they appear in your text. This means the most important or repeated terms will stand out naturally. To get better results, make sure your source text accurately reflects the key points you want to highlight.
2. Remove Common Words
Common words like “the,” “a,” or “if” don’t add much value to your visualization. Most tools offer an option to exclude these stop words. Enabling this feature helps keep your word cloud clean and ensures that only meaningful words are emphasized.
3. Use High-Contrast Colors
Visual clarity is key in presentations. Choose colors that contrast well with your slide background so your word cloud is easy to read. For example, darker text works best on light backgrounds, while lighter shades stand out on darker slides.
Closing Thoughts
PowerPoint offers a surprisingly convenient way to create word clouds that can enhance your presentations. These word clouds can visually highlight key points, improve audience understanding, and even spark discussions.
With the help of add-ins like Pro Word Cloud, you can easily customize your Word Cloud to perfectly match the look and feel of your presentation. So next time you’re looking for a way to make your slides more engaging, consider using a word cloud!
<SlidesAICTA2 />
Frequently Asked Questions About Creating a Word Cloud in PowerPoint
Can I edit the text after I create the word cloud?
Unfortunately, once you generate the word cloud with the Pro Word Cloud Add-In, it becomes an image. You can’t directly change the text within the image itself. However, you can recreate the word cloud with any adjustments you need to the source text.
Can I customize the word cloud after inserting it into the slide?
Even after inserting the word cloud into your slide, you can still customize it using PowerPoint’s formatting options. Here’s what you can do:
- Change the size and position of the word cloud image.
- Add a background image behind the word cloud (if you’d like).
- Adjust the way the text is oriented within the word cloud (optional).
Can I use shapes or images in my word cloud?
Currently, the Pro Word Cloud Add-In doesn’t allow for including images or shapes directly within the Word Cloud itself. But, you can create a word cloud with another tool that offers those features and then import the image into PowerPoint.
Can I make a word cloud directly in PowerPoint?
PowerPoint itself doesn’t have a built-in tool for making word clouds. However, there’s a free add-in called “Pro Word Cloud” that you can install to create them right within PowerPoint.
How can I save my word cloud as an image?
To save your word cloud as a separate image file, you can right-click on it in PowerPoint and select “Save Picture as.” This lets you save it in a format like .jpg or .png. You can then import this image file into other software like Canva for further editing if needed.
Related Posts
-

Creating clear and visually engaging presentations is an important part of getting your message across…
-

{ “@context”: “https://schema.org”, “@type”: “FAQPage”, “mainEntity”: [{ “@type”: “Question”, “name”: “What are some best practices…
-

Adding creative design elements to your slideshow presentations can make them more visually appealing. Curved…
-

Creating visual presentations can be a bit tricky, especially when you want to make your…
-

PowerPoint doesn’t exactly make it easy to check how many words you’ve got in your…