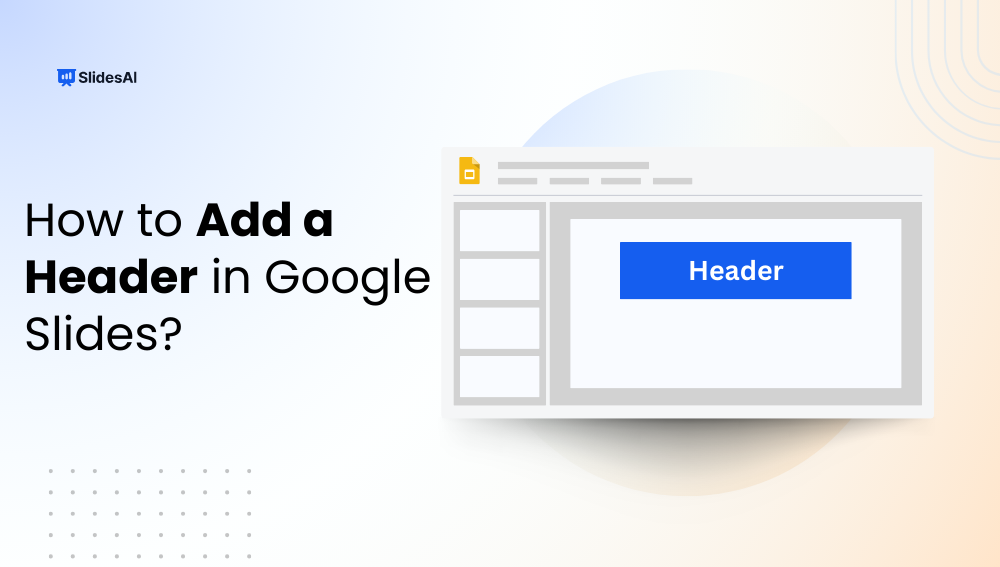
If you want to create well-structured and branded presentations, learning how to add a header in Google Slides can help. Unlike Google Docs, Slides does not offer a dedicated header field. However, you can easily create and manage a header using text boxes.
In this guide, you will learn how to insert, edit, change, and remove a header in Google Slides for individual slides as well as the entire presentation.
What Does a Header Mean in Google Slides?
A header in Google Slides refers to a text element placed at the top of a slide. It may include a company name, presentation title, section label, logo, or other recurring information.
Since there is no automatic header tool, users have to manually create one. Understanding how headers function allows you to manage formatting consistently across slides.
Why Adding a Header Improves Your Presentation?
Adding a header to your presentation may seem like a small design choice, but it has a big impact on clarity, structure, and professionalism. Here is how it improves your slides:
- Improves Navigation: A consistent header helps viewers instantly understand which section they are in, especially in longer presentations.
- Reinforces Branding & Identity: Including a logo, company name, or consistent styling reinforces brand identity across all slides.
- Enhances Professionalism: Uniform headers make your presentation look polished, structured, and visually organized.
- Supports Clear Structure: Headers help break content into logical sections, making complex information easier to follow.
- Displays Key Information: You can use headers to show important details like the presentation title, date, or author name.
- Improves Readability & Accessibility: Consistent structure helps audiences process information more easily, especially in digital presentations.
How to Add a Header in Google Slides?
Method 1: Insert a Header on a Single Slide
If you only need a header on one slide, this approach works best.
Step 1: Open Your Presentation
Launch Google Slides and open your existing presentation file.
Step 2: Navigate to the Target Slide
Select the slide where you want the header to appear.
Step 3: Insert a Text Box
Click Insert → Text box from the top menu.
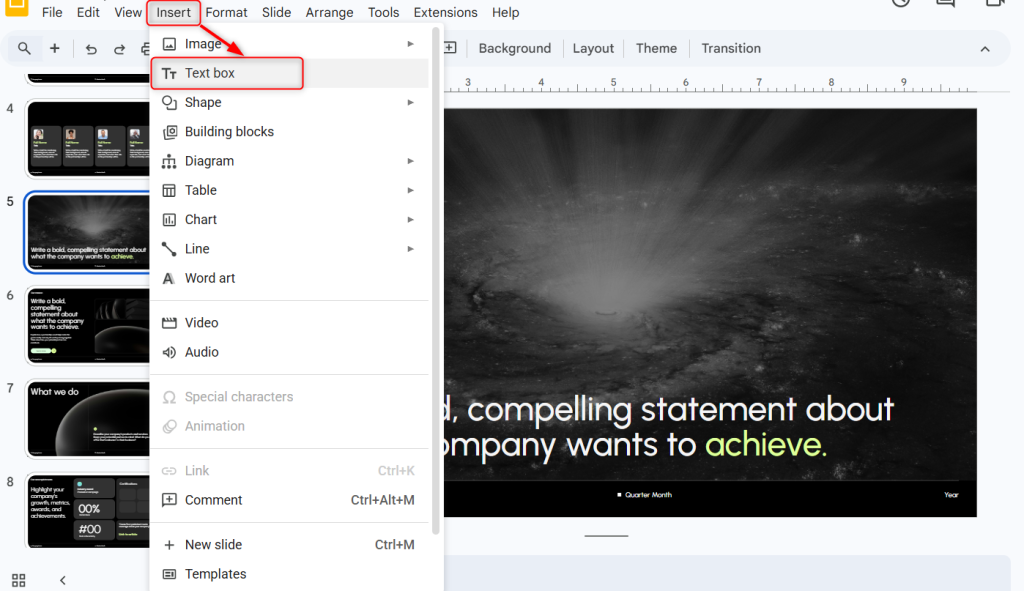
Step 4: Position the Text Box at the Top
Draw the text box near the top edge of the slide.
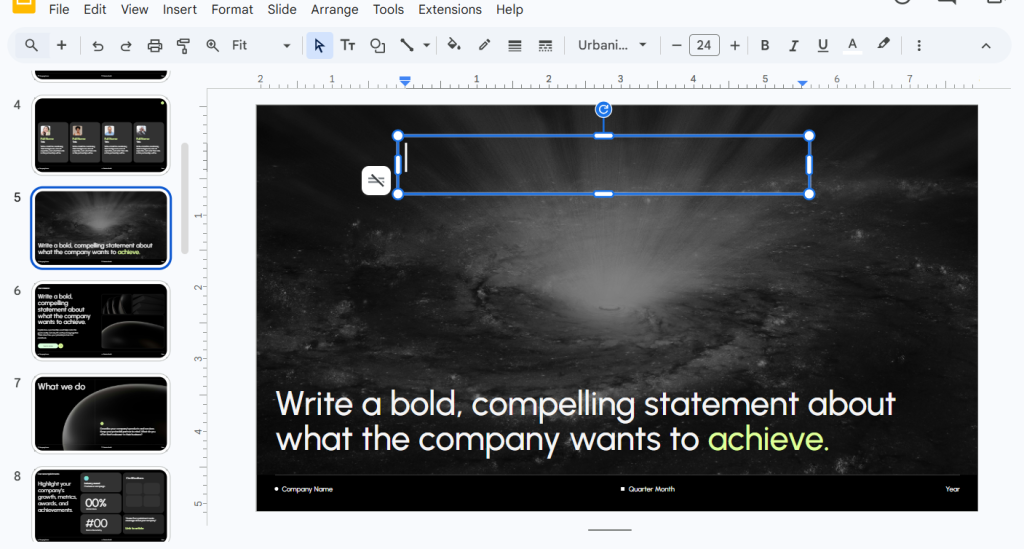
Step 5: Enter Your Header Text
Type the content you want displayed as your header.
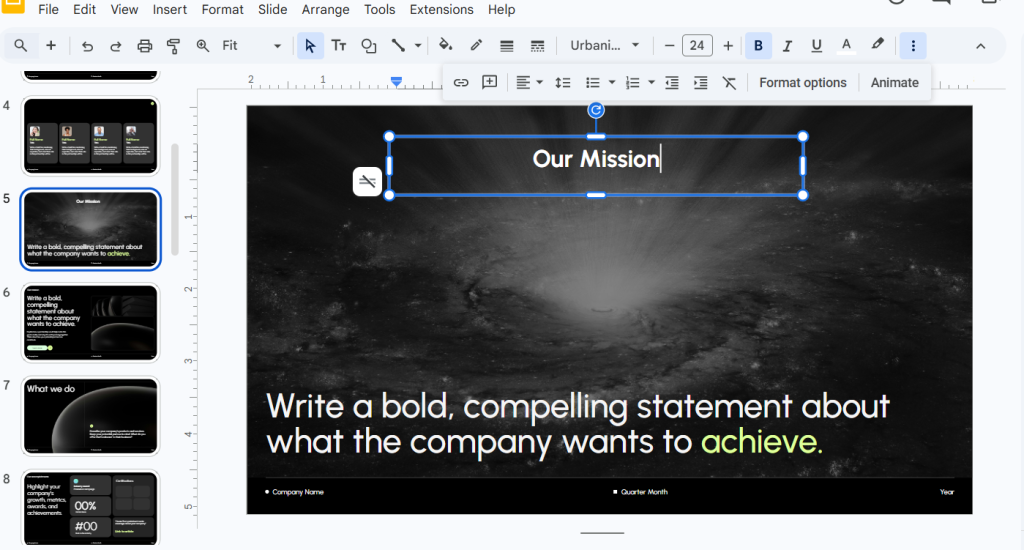
Step 6: Format the Header
Use the toolbar to adjust font style, size, alignment, and color as needed.
- Best suited for:
- Quick edits
- Small presentations
- One-time headers
While this is an easy method, it has its limitations. You must manually copy the header to other slides if needed, which can be a hassle for large brand presentations. To tackle this, you can use the second method.
“Create presentations with polished headers and consistent branding using our professionally designed themes.”
Method 2: Add a Header Across Multiple Slides
For larger or more professional presentations, this method is recommended.
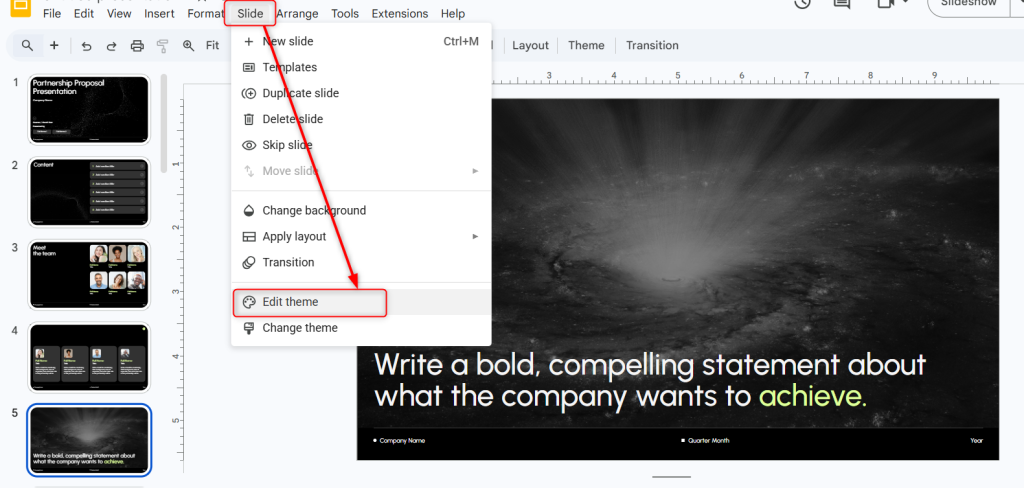
Step 1: Open Theme Builder
Click Slide → Edit theme to enter the Theme Builder or Master View.
Step 2: Select the Master Slide or Layout
Choose the top master slide to apply changes to all layouts, or select a specific layout.
Step 3: Insert a Text Box at the Top
Click Insert → Text box and place it at the top of the layout.

Step 4: Add Header Content
Type your header text or placeholder.
Step 5: Format the Header Design
Adjust font size, alignment, spacing, and color.
Step 6: Exit Theme Builder
Click the X to exit the editor.
All slides using that layout will now display the header automatically.
- Best suited for:
- Business presentations
- Branded decks
- Large slide collections
This is the most efficient way to add a header in Google Slides for lengthy brand presentations.
How to Edit a Header in Google Slides?
Sometimes you may need to change the header in Google Slides or update the wording. You can do so by following these steps:
1. Editing a Manually Inserted Header
- Click the text box containing the header.
- Double-click to edit the text.
- Use the toolbar to adjust formatting.
This method applies only to that specific slide.
2. Editing a Header Added via Slide Master
- Click Slide → Edit theme.
- Select the master slide or layout containing the header.
- Edit the text inside the header box and then exit the editor.
All slides using that layout will automatically reflect the updated header.
This method ensures consistency when you edit the header in Google Slides across multiple slides.
How to Remove a Header in Google Slides?
If you no longer need the header, here’s how to remove it:
1. Removing a Manually Inserted Header
- Click the header text box.
- Press Delete or Backspace.

This removes it from that slide only.
2. Removing a Header Added via Slide Master
- Click Slide → Edit theme.
- Select the layout containing the header.
- Delete the header text box and exit the editor.
The header will disappear from all slides using that layout.
Smart Practices for Using Headers in Google Slides
- Use the Theme Builder for Consistency: Add headers through the Theme Builder instead of manually placing them on every slide. This ensures uniform placement across your entire presentation.
- Place Headers Strategically: Position the header at the top of the master slide, so it appears consistently and does not interfere with the main content.
- Keep the Text Short and Clear: Limit header text to essential information, such as the presentation title, section name, or company identity.
- Maintain Visual Consistency: Use the same font style, size, and color across slides to create a clean and professional appearance.
- Position Logos Carefully: If you include a logo, place it in a corner where it does not distract from the slide content.
- Ensure Strong Contrast: Choose header colors that stand out clearly against the background for better readability.
- Check for Overlapping Elements: Run your slideshow to confirm that headers do not block important text or visuals.
Common Header Mistakes to Avoid
- Adding Headers Manually on Every Slide: Placing headers individually on each slide wastes time and increases the risk of inconsistent alignment.
- Using Oversized or Distracting Fonts: Large or decorative fonts can overpower your content and reduce readability.
- Choosing Low-Contrast Colors: Header text that blends into the background makes your presentation harder to follow.
- Placing Headers Inconsistently: Shifting the header position across slides creates a disorganized appearance.
- Overloading the Header with Information: Adding too much text or multiple elements can make the top of your slide look cluttered.
Conclusion
Adding a header in Google Slides improves your presentation’s structure, branding, and professionalism. Whether you add it manually or through the Theme Builder, understanding the correct method saves time and ensures consistency. For professional presentations, the master layout approach remains the most efficient solution.
<SlidesAICTA1 />
Frequently Asked Questions (FAQs) About Headers in Google Slides
1. Can Google Slides add headers automatically like Google Docs?
No, Google Slides does not include a built-in automatic header feature. You’ll need to create it manually using a text box or through the Theme Builder.
2. How can I apply the same header to every slide?
To apply the same header to every slide, open Slide → Edit theme, add your header in the master slide or layout, and exit the editor. The header will appear on all slides using that layout.
3. Is it possible to use different headers on different slides?
Yes, you can create different layouts in the Theme Builder or insert different text boxes on specific slides.
4. Can I use a logo as a header?
Yes, you can insert an image or logo at the top of the slide or place it in the master layout for consistent branding.
5. What is the best approach for professional presentations?
Using the Theme Builder ensures consistent placement, formatting, and branding across large slide decks.
Key Takeaways
- Adding a header in Google Slides ensures brand consistency and makes future updates faster.
- Google Slides does not offer a built-in header field, but you can add one using text boxes or the Theme Builder.
- You can insert a header on a single slide or apply it across your entire deck using the master layout for consistent formatting.
- You can also remove a header in Google Slides easily, whether it was added manually or through the master layout.
- Using the Theme Builder is the most efficient and professional method for managing headers in large presentations.
- Well-placed headers improve navigation, structure, branding, and overall slide professionalism.
Related Posts
-

Adding slide numbers to your presentation is a neat way to keep everything organized. When…
-

If you’ve ever looked at a slide and thought, “This could use a little extra…
-

Want to add videos to your Google Slides presentations on your iPad? While the Google…
-

Learn how to add transitions to Google Slides to make your presentation more dynamic. Also…
-

Working with multiple slides at once in Google Slides can save you a lot of…