To design a flyer, you don’t necessarily need graphic design software or advanced design expertise. You can create one easily in Google Slides. Creating a flyer in Google Slides is free, simple to use, and accessible from any device. With the right layout and formatting, you can create flyers suitable for events, promotions, school announcements, or marketing campaigns.
This guide will walk you through step-by-step instructions for how to make a flyer in Google Slides, whether you prefer starting from scratch or using a template.
Why Does Google Slides Work Well for Flyer Design?
Before learning how to create a flyer in Google Slides, it helps to understand why it works so well for this purpose.
- Completely Free to Use: Google Slides is available at no cost with a Google account. You do not need additional design software to create polished marketing materials.
- Simple & Beginner-Friendly Interface: The drag-and-drop system makes making a flyer in Google Slides straightforward. You can insert text boxes, shapes, and images without advanced technical skills.
- Real-Time Collaboration: It’s easy to gather your team’s feedback by simply sharing the live slide link of the flyer. Multiple users can edit the same design simultaneously, which saves time.
- Access to Built-In Themes: Google Slides provides clean, professional themes. You can customize any theme to suit your brand colors and messaging.
Method 1: How to Design a Flyer from a Blank Slide
If you want full creative control, this method is ideal for creating a flyer in Google Slides from scratch.
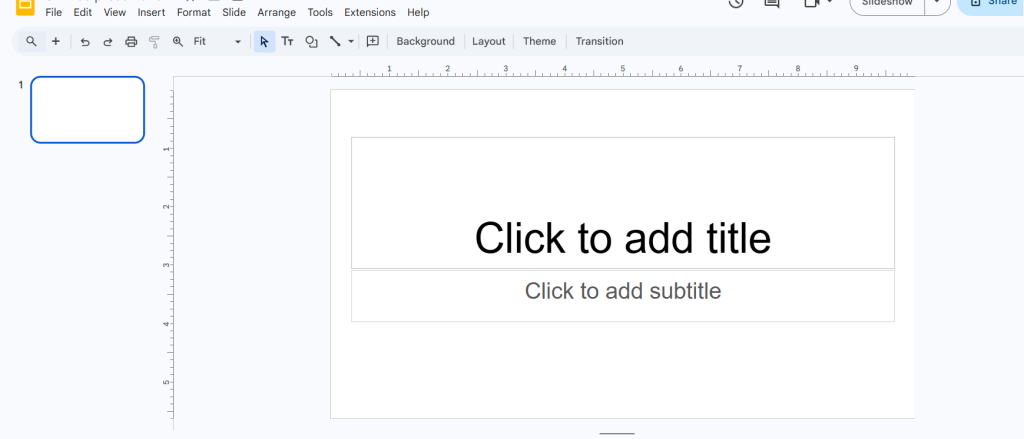
Step 1: Launch Google Slides
Open Google Slides in your browser and click “Blank Presentation” to start a new project.
Step 2: Adjust the Page Dimensions
Flyers usually work best in portrait orientation.
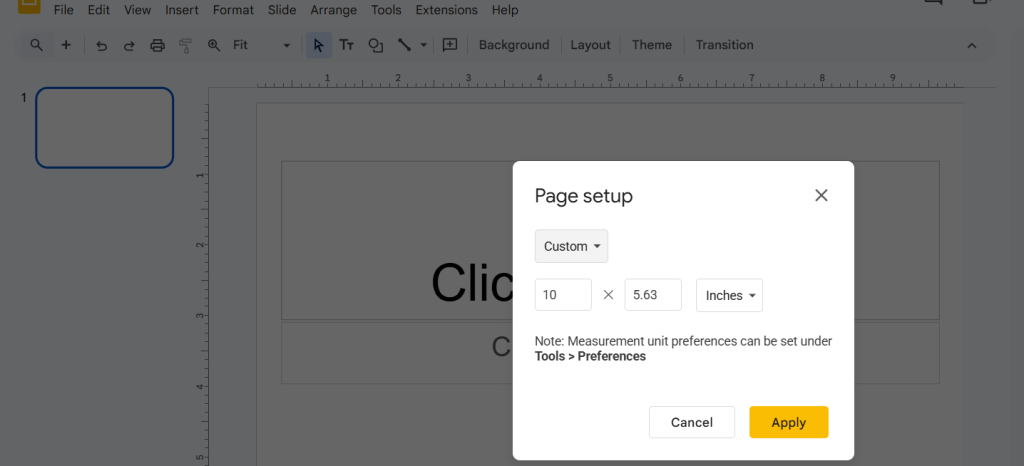
- Click File → Page setup
- Choose Custom
- Enter one of these sizes:
- 8.5 x 11 inches (standard US flyer)
- 5 x 7 inches (small flyer)
- 8.27 x 11.69 inches (A4)
- Click Apply
Choosing the correct size ensures your flyer prints properly, as per your preference.
Step 3: Set a Background
A strong visual base improves your design. For a great background, you can choose a solid color, a gradient, or a high-quality image.
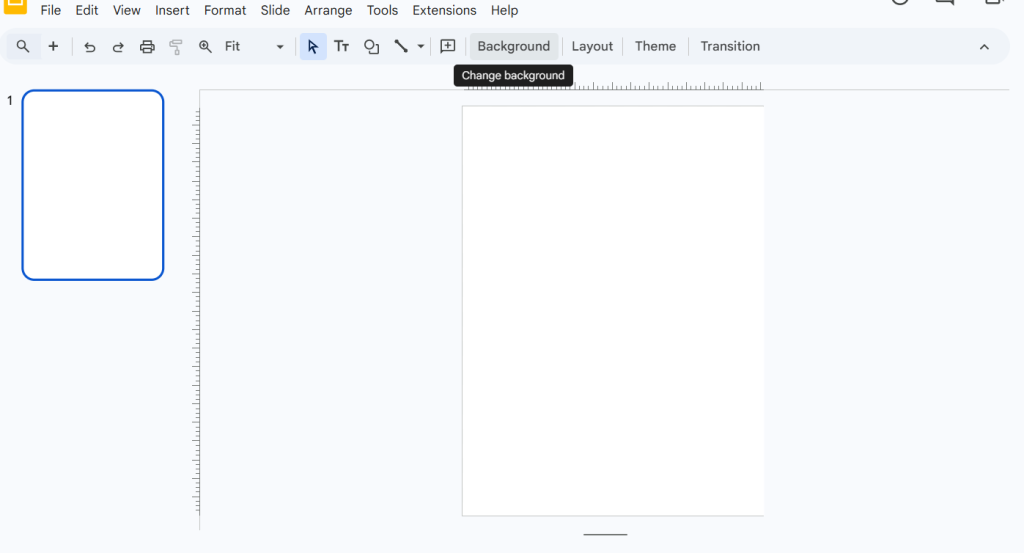
- Click the Background button in the toolbar.
- Choose a solid color or gradient for a clean look.
- For image backgrounds, select Choose image and upload a high-quality file.
If you use an image, avoid overly busy designs. You can insert a semi-transparent shape over the image to improve text visibility.
Step 4: Add Headline & Details
Now it is time to add the key details, including the who, what, where, and why, and focus on your core message.
- Insert a text box by clicking the Text box icon.
- Create a bold headline using large fonts (36pt or larger).
- Add event details in smaller, readable text (12pt-18pt).
You can also add images by going to Insert → Image. You can even use shapes to highlight important information like pricing or registration links by going to Insert → Shape.
Step 5: Organize & Align Elements
Google Slides allows layering and alignment control. So, if you add a shape to the slide and it accidentally covers the text, you can easily adjust its order. Here’s how:
- Right-click objects and choose Order → Bring to front or Send to back.
- Select multiple objects and use Arrange → Align to center or distribute elements evenly.
Clean alignment makes your flyer look professional.
Step 6: Download Your Flyer
After finishing your design:

- Click File → Download
- Choose PDF Document (.pdf) for printing
- Choose PNG or JPEG for digital sharing
This completes the process of creating a flyer in Google Slides using a blank slide.
Method 2: Creating a Flyer Using a Template
If you prefer speed, templates simplify the process of making a flyer in Google Slides.
Step 1: Browse Available Templates
- Open Google Slides
- Click Template Gallery
- Choose a clean layout with bold visual elements
Step 2: Replace Text & Images
You can then customize the template by:
- Replacing placeholder text
- Updating colors to match your brand
- Swapping images with your own visuals
Step 3: Convert to a Single-Page Flyer
If you wish, you can even delete extra slides and use one slide as your full flyer design.
Step 4: Download as PDF
Save your flyer via File → Download → PDF Document (.pdf) for printing or sharing.
Best Practices for Designing Flyers in Google Slides
To make your flyer effective, you can take help from the following tips:
- Use only 1–2 fonts to maintain design consistency.
- Make your headline bold and highly visible.
- Leave white space to avoid clutter.
- Use high-contrast colors for better readability.
- Include one clear call-to-action, such as “Register Now” or “Call Today.”
These design tips improve results when making a flyer in Google Slides.
Conclusion
Learning how to create a flyer in Google Slides gives you flexibility without needing expensive design software. Whether you start with a blank slide or customize a template, Google Slides offers enough tools to create professional, print-ready flyers. By setting the correct size, organizing your layout, and using strong visuals, you can confidently create flyers for events, promotions, or educational purposes.
Frequently Asked Questions (FAQs) About Making Flyers in Google Slides
1. Can Google Slides create professional-quality flyers?
Yes, Google Slides can help you produce professional-looking flyers with proper spacing, readable fonts, and high-resolution images.
2. What size should I use for a flyer?
The most common size is 8.5 x 11 inches for printing. For digital flyers, you can customize pixel dimensions depending on where you plan to share them.
3. Can I print a flyer created in Google Slides?
Yes, you can. To print a flyer created in Google Slides, just download it as a PDF to maintain formatting accuracy before printing.
4. Are there free flyer templates available?
Yes, there are free templates you can use in Google Slides. You can even modify presentation layouts to function as flyer designs.
5. How can I share my flyer online?
You can download the design as a PDF or image file and share it through email, social media, or Google Drive.
6. Can multiple people edit the same flyer?
Yes. Google Slides supports real-time collaboration, so team members can edit and comment simultaneously.
Key Takeaways
- You can quickly learn how to create a flyer in Google Slides using either a blank slide or a ready-made template.
- Google Slides allows full control over size, layout, text formatting, and image placement.
- Setting the correct page dimensions ensures your flyer prints properly.
- Using alignment, layering, and spacing tools helps your flyer look professional.
- You can export your design as a PDF for printing or as an image for digital sharing.
Related Posts
-

{ “@context”: “https://schema.org/”, “@type”: “BreadcrumbList”, “itemListElement”: [{ “@type”: “ListItem”, “position”: 1, “name”: “Home”, “item”: “https://www.slidesai.io”…
-

Candlestick charts are a powerful tool for visualizing financial data. They are especially useful when…
-
Creating strong visuals can transform your presentations from flat to attention-grabbing. By learning how to…
-

Learn to create a detailed organizational chart in Google Slides with step-by-step instructions. Explore three…
-

Working with multiple slides at once in Google Slides can save you a lot of…